
I ended up making this dessert because it is birthday season in my house (yes, around here, birthdays last a season), which means I am creating every dessert under the sun. Between my mom's birthday and my brother's birthday and my mom's birthday party and my brother's friend birthday party and my brothers' family birthday party and my other brother's birthday I am dedicating desserts as fast as my poor smoking mixer can produce them.
My brother's birthday was last week, and I asked him what he wanted for his friend-birthday-party cake. Not to be confused with his actual birthday-date-cake, nor his family-birthday-party dessert, which I will be posting shortly (so stay tuned!). I'd already made him a chocolate cake, so he asked for something a little more unconventional.
 |
| My amazing family :) |
Here's how to do it.
1. Choose your cake pan.
This will pretty much serve as your mold for your entire cake. Consider your size carefully. It might not look very large, but it will get large very quickly. I used a 9-inch cake pan, but thanks to spreading it ended up being 10 or 11 inches in diameter.
2. Mold your ice cream.
Line your cake pan with foil. If you bought ice cream to fill your cake, soften it in the microwave and press it into the pan. If you made ice cream, you should take the soft-serve stuff straight from the machine and put it into the pan while still soft. Either way, put the pan back in the freezer to firm up. You want your ice cream to be hard when you serve the cake because it WILL start melting.
Make sure you save some extra ice cream in case your cookies get too large for your ice cream and you have to fill in around the edges.

3. (Make and) Sculpt your cookie dough.
Line an identical cake pan with more foil. Smush your cookie dough into the bottom of the pan. This is just to make sure that you get a nice uniform circle of dough in the same size as your ice cream.

Extract your cookie dough from the pan (this is where the foil comes in) and then remove the foil.


Slap that baby on the pan. The dough will spread out a little while it bakes, so you will get some overhang

Another option is to bake the cookie right in the cake pan to make sure it stays nice and uniform.
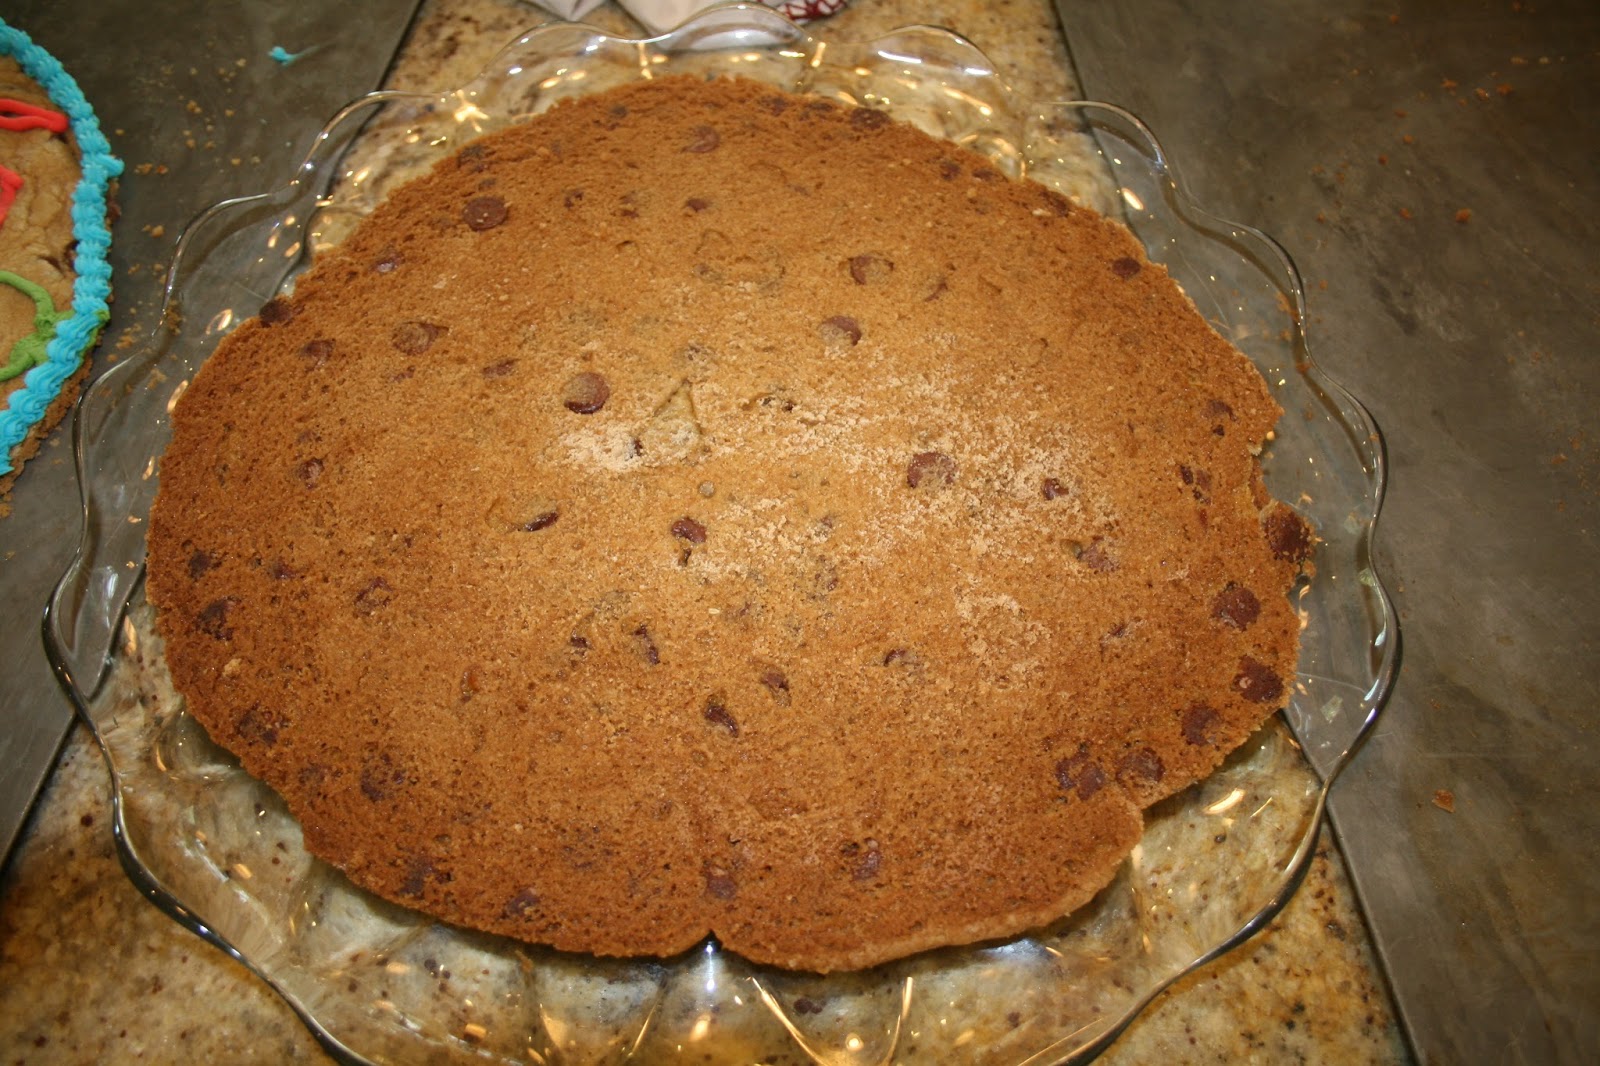
4. Bake your cookies.
You want them to be par-baked. If they're hard when they come out of the oven, they are going to be even harder to cut. Once they come out, you can trim off some of the irregular or crispy edges. Wait for them to cool a little bit; then, using a long spatula, unstick the bottom of the cookie from the pan (to prevent problems later). Then put the cookie in the freezer so it gets harder and more sturdy before you attempt to move it.
5. Decorate your cookie.
Once it has been in the freezer for a little while and you're sure the frosting is not going to melt, you can create your masterpiece! You want to do the decorating before assembling the cookie-cake because otherwise you'll be frantically trying to sculpt borders while the ice cream is melting.
Recommendation: If you're going to be trying to stick birthday candles on this thing, I recommend adding some patches of relatively thick icing. You aren't going to be able to drill candles into the frozen cookie, so the icing will have to work as your base.
6. Assemble!
The first cookie goes face down (that way, both the bottom and the top of the cake look nice.
Add your slab of ice cream. Since my cookie had expanded more than I had anticipated, I had to add some ice cream around the edges to match the diameter of the cookie. (If you want to avoid this process, you can try baking your cookie directly in the cake pan so it won't spread.)

And the crowning glory cookie.

7. Good luck cutting ;)


No comments:
Post a Comment