Showing posts with label winter. Show all posts

Tuesday, January 13, 2015

Vogue 1419: My Winter-White Winter Break Coat


It's done! After over two weeks of working on this coat over my whole winter break, it's finally done!

I'm really proud of this coat. For one, it's the first Advanced/Plus Difficile Vogue Pattern I've made! More substantially, it really pushed the boundaries of my sewing knowledge. It's probably the most meticulously tailored garment I've made so far. I learned a lot of new sewing techniques, like bound buttonholes and welt pockets (see my last blog post for detailed pics/tutorials!) And I think, for all the work it entailed, it turned out really well!


Here's the pattern I used--the oft lauded and blogged Vogue 1419 Ralph Rucci coat. I (like a lot of us), fell in love with it on first sight. Here's the line drawing so we can admire it more.

Isn't it cool?!?! The coat has no shoulder seams! It has a front panel and a back panel, and then there's a piece that goes over the shoulder and a side panel/gusset that connect the front and back to form a sleeve. Aren't those some awesome style lines? And the silhouette--a flared skirt, flared sleeves, and nipped-in waist--is very flattering.


Saturday, December 20, 2014

Celebration time! Chocolate Hazelnut Torte, here I come!

I took my last final two days ago...I finished my last college app yesterday...it's winter break and I have no more essays to write...

I am now OFFICIALLY a second-semester senior!!!


YAAAAAAAAAAAAAAAAAAAAAAY (and PHEW!!!)

Time to cook and sew to my heart's content!!!

Yesterday I was so intoxicated by my newfound freedom to do whatever I wanted (as opposed to studying and writing essays bleagh) that when Serious Eats emailed me a recipe for a chocolate-chestnut torte, I was like LET'S GO FOR IT!


I actually ended up adapting a hazelnut-chocolate torte recipe instead, because I like hazelnuts better and I didn't have any chestnuts. Unfortunately, I didn't have any eggs either, which I was so excited to get started that I didn't realize until halfway through making the confection, which led to me running down the street in my slippers to borrow eggs from my angelic neighbor. Thank you Edye!!! I also accidentally added double the sugar I was supposed to at the beginning, so I had to make a batch of cookies instead and start the cake over (you can't let butter and sugar go to waste!). Not my smoothest dessert, clearly. Cut me a break. I'm still getting back in the groove ;)

But eventually all the right ingredients ended up in the mixer together. I think the cake came together quite nicely, don't you?


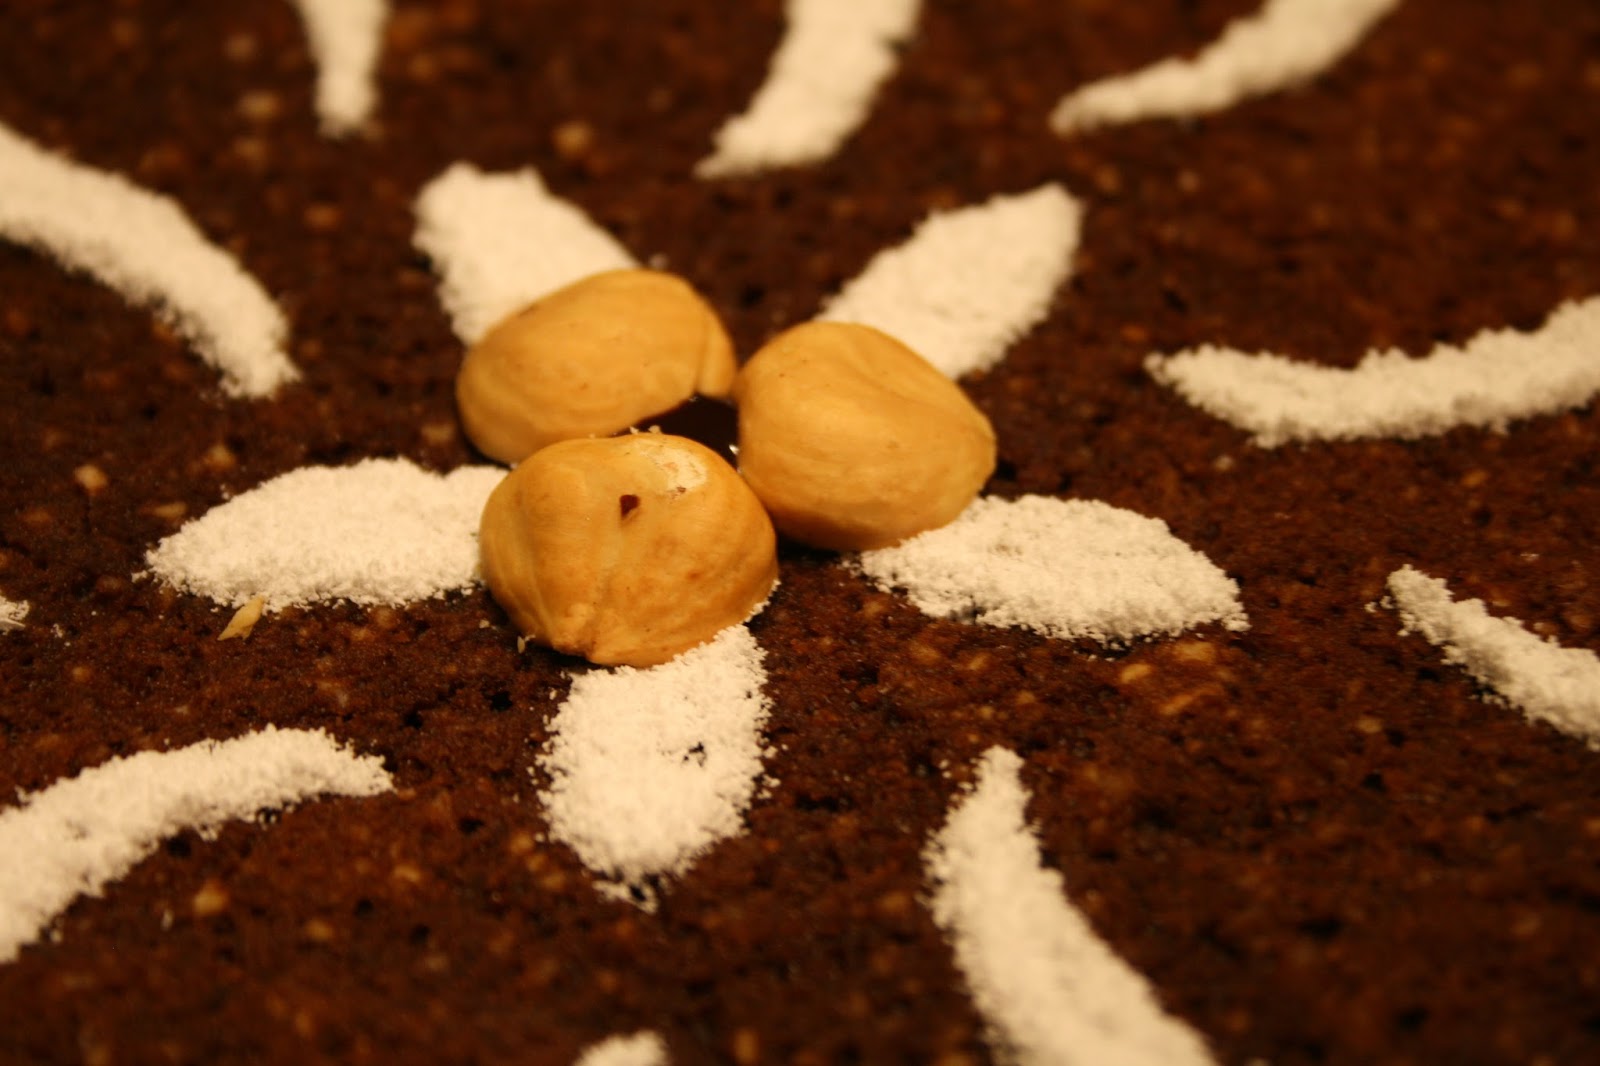
I decorated the top with powdered sugar using a homemade cake stencil. Within a few days I'll post a tutorial about how to make your own reusable cake stencil from stuff you probably have lying around your house! If you're reading this thinking, "Less art, more eating!", a liberal dusting of powdered sugar would, I'm sure, look just as inviting plus have the added advantage of covering in all the bald spots. Or you could just cut to the chase and slather the thing with Nutella ;)

The cake turned out to be pretty good! It was moist and fudgy and tasted like Nutella. Here's the recipe!

Monday, December 1, 2014

Fuzzy Red Fur (aka my Sesame Street coat)


Hi everyone! 

I feel like a salutation is  needed because (to my shame) I've fallen behind on my posting! (Though I did make pumpkin pie and pecan pie for Thanksgiving, which I've already blogged about so you can check out those awesome recipes!)

As soon as Thanksgiving is over, it's Christmastime in the Newman household. It really felt like Christmas yesterday when I was headed outside to go take pictures for my blog, and found that it was raining! In Southern California! Who, if you're not aware, is in the middle of a really serious drought! As luck had it, it kept raining nearly all day...

So I just stayed inside and took pictures next to my Christmas Tree!
I've been so busy lately with school and college apps and Mock Trial that I have had no time to sew. But I am acutely aware of abandoning, forsaking, and washing up my readers, so I decided to do a retrospective post on a coat I made a couple years back. 

I like to say that this coat makes me look like a red marshmallow!
 This coat is actually one of my very first sewing projects!!! This is the second real garment I created. As a fully-lined fur coat with a lapel and everything, it was quite a learning curve.


Thankfully, I had my mom to help me with the construction of the garment and even the reading of the pattern (reading patterns can be confusing until you get the hang of it!). 


I knew I had to make a coat as soon as I saw this fabric. I bought it from Chic Fabrics in New York. A huge roll of it was hidden in the back of the store, jammed in among a bunch of not-quite-as-fantastic textiles. It looked like it could have fit right in on Sesame Street. 

Image courtesy of Muppet.wikia.com
It's bright red alpaca fur that I got for--get this--$10/yard. For 60-inch fabric. :O I bought 3 yards to make a coat! 

I rifled through my mom's quite extensive pattern stash looking for an appropriate design. Ultimately I was caught between two options: View C of Vogue V8465, and View C of McCall's M5766. I guess I was subconsciously attracted to art that matched my bright red fabric! 


I ended up (I have no idea why) choosing the McCall's pattern. Which ended up being a good choice, because I used the Vogue pattern minus the sleeves to make myself a dress

Here's the link to the pattern!
This pattern has a lapel, and is closed by a single button and loop on the left breast. It has lots of pleats in the skirt to create some volume. The version that I chose also has some really unique, awesome sleeves that are divided into two parts--a normal, straight segment above the elbow, and then a second balloon-like part from the elbow down, with large pleats at the elbow and the fullness gathered into a tight armband at the wrist. 

Don't you love those sleeves? 


I lined the coat with some horrible, ugly, plastic-y, polyester black lining that was sitting around my mom's stash. If I had to make the coat again, I would definitely find some better-quality lining. It's not worth spending all the time and materials making a really nice coat and then use poor lining for the inside! 

Here's the (one) button I used! 
Finally, later on in the day, I snatched a few seconds when the rain subsided to a slight drizzle to go outside and take some more pictures in better light. 


So, in consideration of the fact that there's a debate going on regarding if sewing actually saves you money, I'm going to observe that this coat--including fabric, lining, buttons, thread, the pattern etc--cost me no more than $50. 

Try to find a custom-fit bright red fully-lined awesomely-buttoned alpaca-fur coat like this anywhere in a department store for less than 50 bucks! 

Plus, after three years with this coat, I can sincerely say that I love wearing it! It's fluffy and fun and excellently made. I intend to wear it all winter! 


Tuesday, March 25, 2014

Freezer Cooking: Sausage and Marinara Polenta


We went skiing...yeah that was three weeks ago. I have been very irresponsible about maintaining my blog!

(Panorama pranking! Start out on one edge of the picture, run around the back of the camera while it's panning, and end up on the other side. Voila, you're cloned! Now try doing it while waddling around in skis.) 
My family goes to this tiny little ski resort in Yosemite. It's a far cry from those big commercial ski resorts like Big Bear or Mammoth, which is nice though because I don't have to focus on avoiding people faster and more competent than me. :)

The material point is, because we were staying in a national park as opposed to a big commercial ski resort, we weren't going to have access to restaurants, or supermarkets, or food in general. Which means we had to bring with us pretty much everything we planned to put in our bodies...


---Who do you think I am?!?!


My mom and I did some freezer cooking!

"Freezer cooking" is actually a real culinary term, not to be taken as a pun except when I put it in my title. It means when you cook a *healthy *natural *delicious homemade meal, package it yourself, and freeze it in preparation to pop out of the freezer and have for dinner some night down the road. It's like creating your own convenience food! Or at least, for those of you who believe that convenience food is about not having to cook, it's at least like dinnertime fungibility. Some examples that pop to mind: stuffed or marinated chicken breasts that can be frozen in plastic bags, defrosted, and then cooked/grilled, frozen burgers or veggie burgers, pretty much anything in a casserole dish, and even certain desserts like ice cream (haha yes I'm being a smart ass).

For those of you who are immediately prejudiced against anything remotely resembling fast food (I empathize), never fear: this dish was well-loved in my family even before we figured out we could extend its lifespan. Polenta was originally an Italian peasant dish. The essential nature of this plate is hearty, savory, comfort-food-esque. Admittedly it doesn't have the most elegant presentation, but its designed to feed a hungry family, not impress guests.

Here's it's basic composition: a thick layer of polenta (thick-ground cornmeal that has become thick and gooey from absorbing milk), topped with sausage, swamped in tomato sauce, capped with a layer of golden, melted mozzarella. The ingredients are distinct, but I love the way their combination gives the dish a simple richness.

The original recipe was titled "Polenta, Sausage, and Tomato Layers" ("Could I have a few more polenta and tomato layers, please?"). I think I'll go with sausage and marinara polenta ;)
Once the ingredients are stacked in the casserole dish, the polenta can either be baked immediately, or the dish itself can be wrapped in plastic wrap and/or covered in foil and put in the freezer for later! Either way, it makes a delicious, hot, filling dessert after a long day of exercise!

Sunday, January 26, 2014

Wrap Coat + Electric Blue Fur = 7 Pounds of Awesome


+


=


And, if you thought it couldn't get any more awesome, ladies and gentlemen...


That electric blue fur collar is completely detachable. :D

(Not like anyone would ever actually want to go without such a glorious turquoise mantle, but for the sake of versatility and laundering.)

This work has been in-progress for so long, it's almost embarrassing. I made the coat over a year ago, and the fur came before the outerwear. 

I found this fur at the Mood in New York. It was not a case of love at first sight; I was inclined to jest at the nearly phosphorescent nature of the fabric. Fortunately for my wardrobe, it was a case of love at first touch. I will endeavor to help you comprehend through visuals the textural euphoria of this textile:

Sunday, December 1, 2013

Pecan Pie (without gelatin, of course)


I have an incentive for everyone to read my blog.

And that is, when I make a recipe, I can tell you honestly which instructions you need to follow, and which ones you don't. We want to bake, not wade through a set of directions that could fill a small pamphlet. I can think of maybe one recipe where the outcome is materially benefitted by sifting the flour beforehand, and a good dozen where dumping all the ingredients in the bowl together in no particular order produces a quite lovely batter, thank you.

Well when I made the crust for this pecan pie it was 9:30 on the eve of Thanksgiving and I did not want to wait for my dough to chill for an hour before I rolled and baked it, so I rolled and baked it on the spot.

So you should chill your dough before baking it.

Pretty much what happened is that A) my dough did not roll out as neatly and B) my shell was not sturdy enough, so when I poured in the filling I got leakage. (Sorry to dissappoint, but I didn't take pictures of that part.) The filling is really runny before baking, because its pretty much composed of eggs, sugar, and melted butter. The leak stopped up soon enough once I put the pie in the oven.

Patchy crust :(
It is a testament to this amazing recipe that the finished product still looked stunning, but in the interest of avoiding a crispy corona around the base of your pie, I recommend chilling your crust.  Just follow the instructions below!