
I made the mistake of looking up bundt cake pans on Amazon one day...
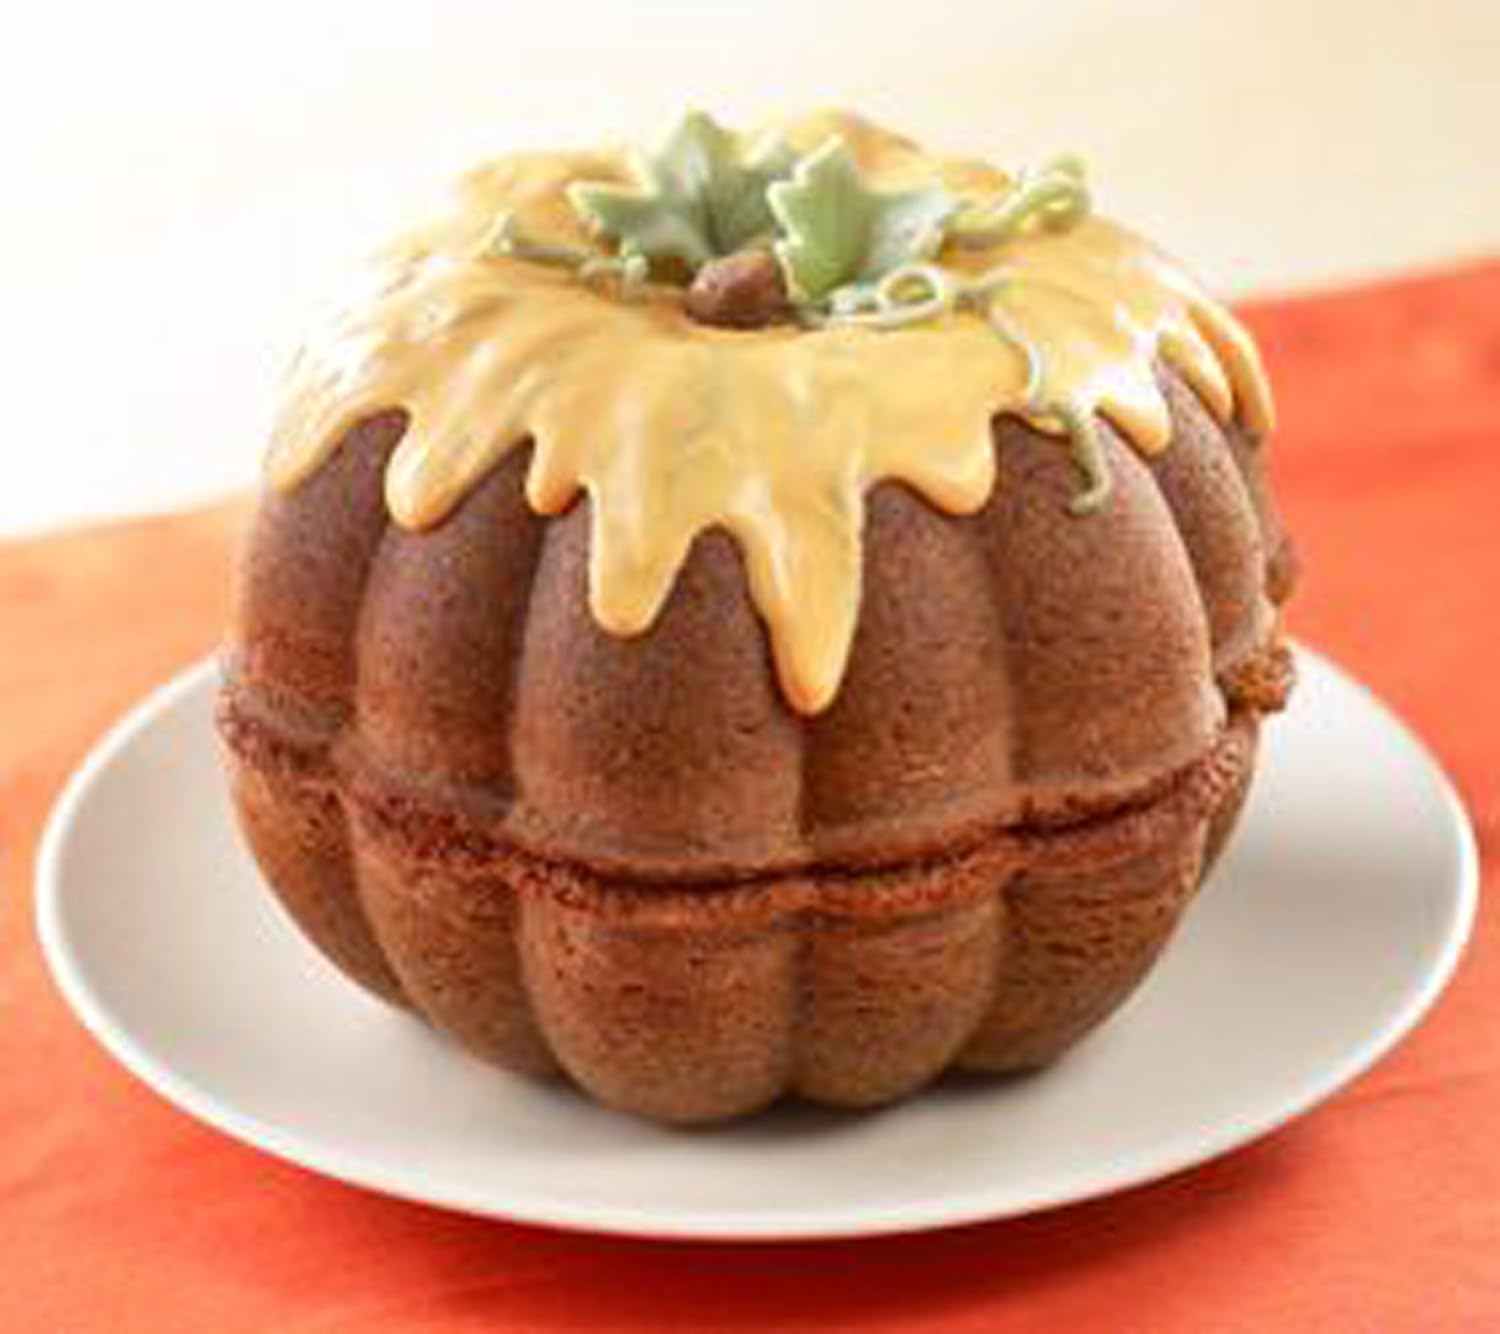
And you didn't think you needed a new bundt cake pan ;)
(Here's the link, in case you need more eye candy :D).
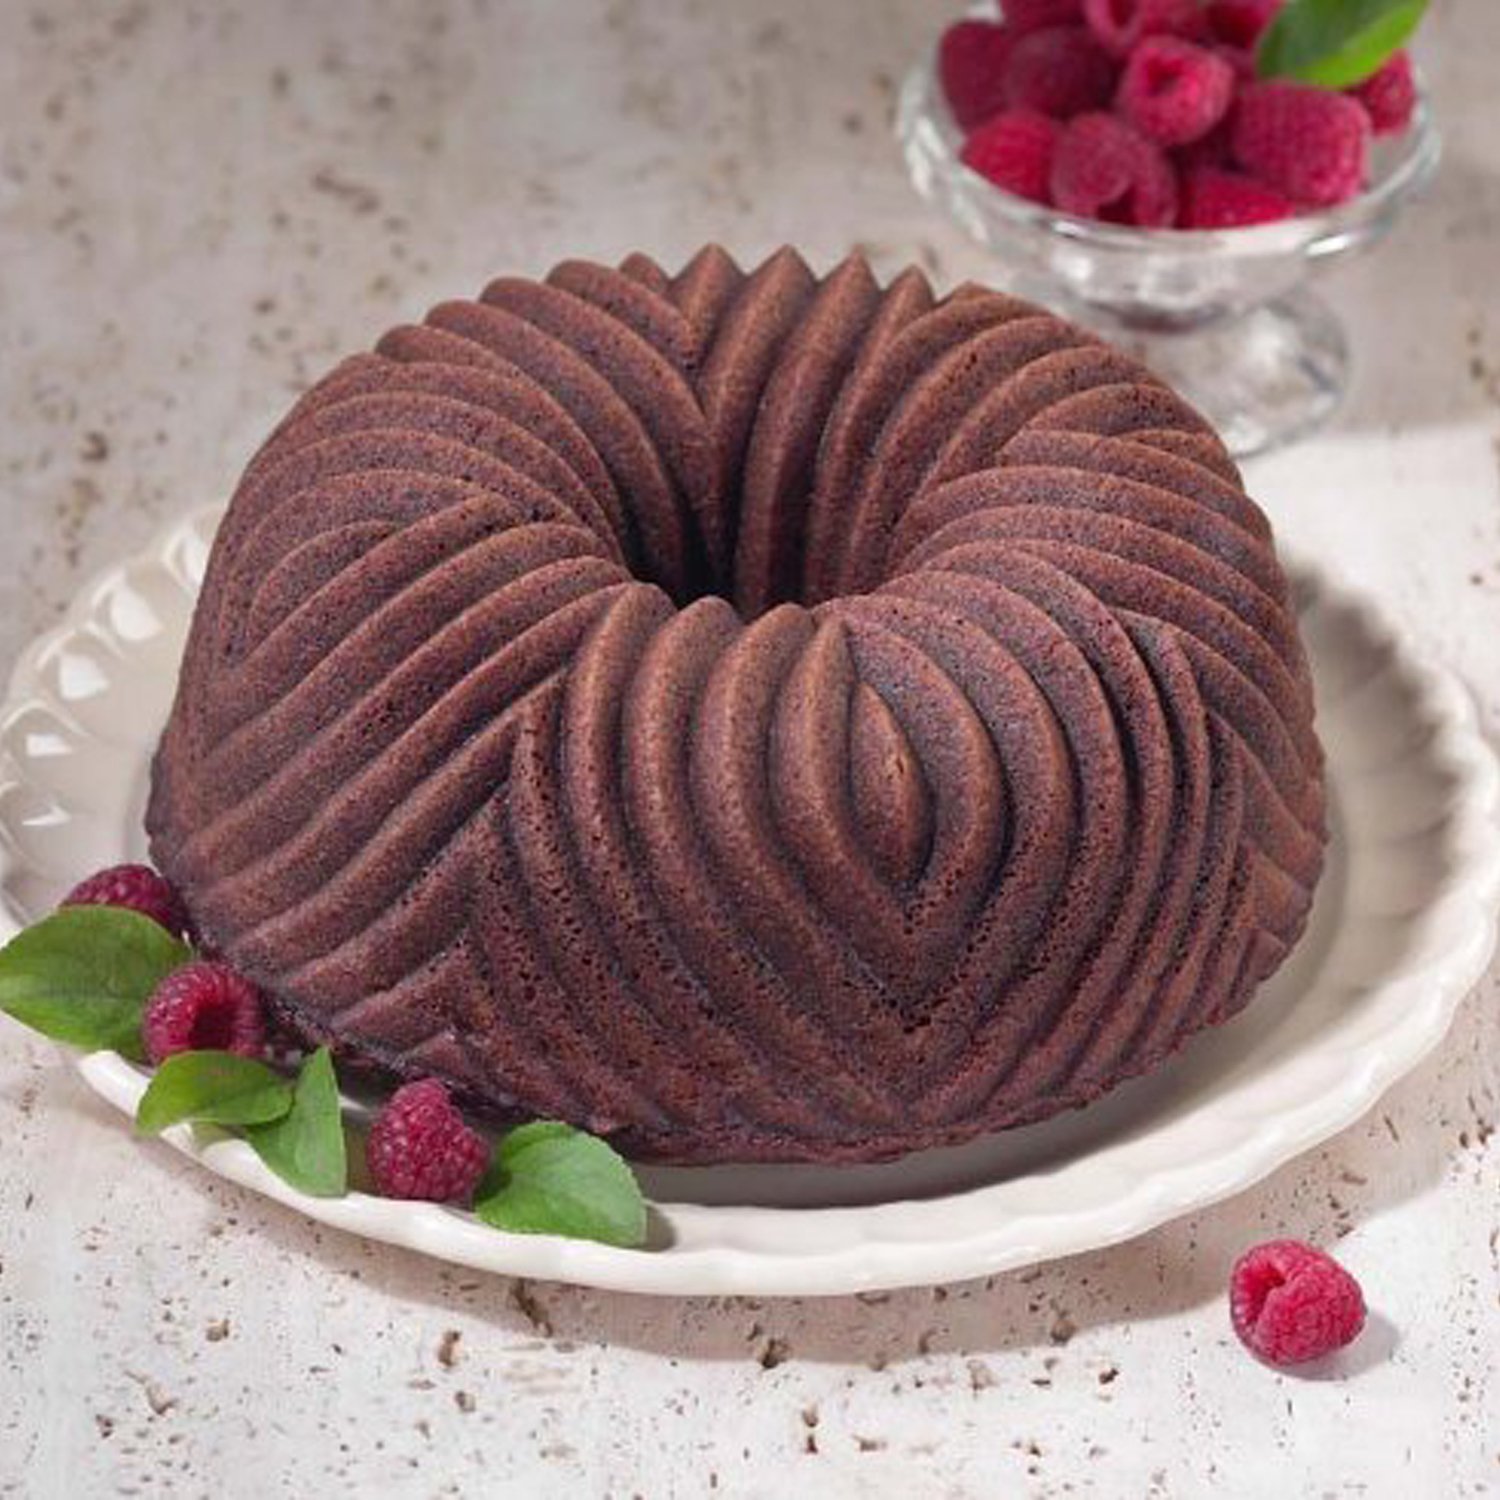
Here is my bundt cake pan:

Admittedly not as dramatic as a pumpkin, but altogether superior because it does not place seasonal limitations on my bundt cake. I mean really, a couple of components, beautiful presentation, mouth-watering taste, chocolate: this is going to be a year-round staple. (And you can probably tell my pan gets some wear.)
I suppose I should comment upon the difference between chocolate bundt cake and regular chocolate cake. Now you might not think you care, but it's actually really important because if you can prove the distinction it means you can have chocolate cake twice as often :D My standard normal-round-pan cake is incredibly soft and delicate. When you cut it open you can see the system of air pockets. I can report with conviction that it would not survive extraction from a bundt cake pan. It is covered in traditional icing, essentially whipped butter and powdered sugar with some cocoa powder thrown in.
Bundt cake is generally denser and has a sturdier crumb so that it will hold its shape. I notice that it tends to develop something of a thin crust on the outside, which also helps maintain the structure, especially if your pan features crisp lines. And because there is no way you are going to spackle those beautiful designs, it is covered with ganache, which is essentially a melted mixture of cream, chocolate, and butter. And of course, there's the distinctive circular shape with a hole in the middle.
 |
| Remember that scene from My Big Fat Greek Wedding? Image courtesy of Oh Heather |
Unfortunately, that beautiful pan can quickly become prohibitive if you don't know how to get your cake out of it in one piece. Often, just buttering doesn't work well enough. Instead, what I now do is make a type of paste: a mixture of powdered sugar, melted butter, and in this case cocoa powder that I use to coat the inside of the pan.

It's thicker and it doesn't run down into the bottom of the pan, so it gives the cake better coverage. And it WORKS. Not only do you not have problems getting the cake out in the first place, but when it emerges the lines are exceptionally crisp and the design is clear. I don't really have a recipe for this paste--I just sort of melt butter and throw equal parts sugar and cocoa in until I get the right consistency--but I'll do my best below!
Here's the recipe!

Chocolate Bundt Cake
This cake is incredibly moist with an almost fudgy texture, which is emphasized by the decadent ganache. It's denser than your typical chocolate cake but still has the lightness of a cake. Thanks to the Garden of Eating for this delicious recipe!
(This makes more than enough batter for a 12-cup bundt pan, but if you have any little ramekins sitting around, you can also make really cute individual cakes!)
Ingredients
Cake Release (Paste)
About 1/4 cup (1/2 stick) butter
About 2 tbsp cocoa powder
About 3 tbsp powdered sugar
Cake
3/4 cup good cocoa powder
6 oz bittersweet chocolate
1 tsp instant espresso powder (optional)
3/4 cup water (boiling)
1 cup sour cream
12 tbsp (1 1/2 sticks) butter
2 cups light brown sugar
1 tbsp vanilla extract
5 large eggs
1 3/4 cups flour
1 tsp salt
1 tsp baking soda
Ganache
About 6 oz chocolate
About 1/2 cup cream
About 1/2 cup (1 cube) butter
Directions
Cake Release (Paste)
You are looking for a paste that is thin enough to spread over your bundt pan but thick enough that it clings securely to the sides. You will have to play with the proportions of your paste, adding butter to thin and sugar to thicken until you have a good consistency.
1. Melt the butter in a small dish.
2. Add in the cocoa powder and powdered sugar.
3. Adjust for the right consistency.
4. Using a pastry brush, coat the entire inside of your bundt cake pan with the paste. Make sure you get every nook and cranny, even at the very rim of the pan, to make sure nothing sticks.
Cake
0. Preheat your oven to 350 degrees.
1. Start boiling your water (make sure you add a little extra so that you have enough after boiling).
2. Put cocoa, chocolate, and espresso powder in a bowl; when your water is ready, pour 3/4 cup boiling water into the bowl. The water will melt the chocolate (it might take a few minutes for everything to melt completely, so you can continue on with step 4 until you are able to combine).
3. Add your sour cream to the water-chocolate mixture and combine.
4. In the bowl of an electric mixture, cream the butter, sugar, and vanilla extract.
5. Add salt and baking soda. Add the eggs. Mix to combine; make sure to scrape down the sides of the bowl.
6. Add the flour and combine.
7. Add the sour cream-chocolate mixture and combine. Scrape down the side and make sure that your batter is completely mixed!
8. Add your batter to your paste-lined bundt pan. The batter level should be about 1 inch from the top of your pan. If you have extra batter (you probably will), you can make a few individual cakes in small ramekins.
9. Bake at 350 degrees (325 for a dark pan) for about 50 minutes, until the cake doesn't wobble; a tester should come out mostly clean with only a few crumbs.
10. Wait until the cake is COMPLETELY COOLED to turn it out.
11. Top with ganache (instructions below)
Ganache
1. Heat your butter, cream, and chocolate together in a small saucepan on low heat until melted and combined.
2. Pour over the top of your bundt cake.
3. Admire.


It's thicker and it doesn't run down into the bottom of the pan, so it gives the cake better coverage. And it WORKS. Not only do you not have problems getting the cake out in the first place, but when it emerges the lines are exceptionally crisp and the design is clear. I don't really have a recipe for this paste--I just sort of melt butter and throw equal parts sugar and cocoa in until I get the right consistency--but I'll do my best below!
Here's the recipe!
This cake is incredibly moist with an almost fudgy texture, which is emphasized by the decadent ganache. It's denser than your typical chocolate cake but still has the lightness of a cake. Thanks to the Garden of Eating for this delicious recipe!
(This makes more than enough batter for a 12-cup bundt pan, but if you have any little ramekins sitting around, you can also make really cute individual cakes!)
Ingredients
Cake Release (Paste)
About 1/4 cup (1/2 stick) butter
About 2 tbsp cocoa powder
About 3 tbsp powdered sugar
Cake
3/4 cup good cocoa powder
6 oz bittersweet chocolate
1 tsp instant espresso powder (optional)
3/4 cup water (boiling)
1 cup sour cream
12 tbsp (1 1/2 sticks) butter
2 cups light brown sugar
1 tbsp vanilla extract
5 large eggs
1 3/4 cups flour
1 tsp salt
1 tsp baking soda
Ganache
About 6 oz chocolate
About 1/2 cup cream
About 1/2 cup (1 cube) butter
Directions
Cake Release (Paste)
You are looking for a paste that is thin enough to spread over your bundt pan but thick enough that it clings securely to the sides. You will have to play with the proportions of your paste, adding butter to thin and sugar to thicken until you have a good consistency.
1. Melt the butter in a small dish.
2. Add in the cocoa powder and powdered sugar.
3. Adjust for the right consistency.
4. Using a pastry brush, coat the entire inside of your bundt cake pan with the paste. Make sure you get every nook and cranny, even at the very rim of the pan, to make sure nothing sticks.
Cake
0. Preheat your oven to 350 degrees.
1. Start boiling your water (make sure you add a little extra so that you have enough after boiling).
2. Put cocoa, chocolate, and espresso powder in a bowl; when your water is ready, pour 3/4 cup boiling water into the bowl. The water will melt the chocolate (it might take a few minutes for everything to melt completely, so you can continue on with step 4 until you are able to combine).
3. Add your sour cream to the water-chocolate mixture and combine.
4. In the bowl of an electric mixture, cream the butter, sugar, and vanilla extract.
5. Add salt and baking soda. Add the eggs. Mix to combine; make sure to scrape down the sides of the bowl.
6. Add the flour and combine.
7. Add the sour cream-chocolate mixture and combine. Scrape down the side and make sure that your batter is completely mixed!
8. Add your batter to your paste-lined bundt pan. The batter level should be about 1 inch from the top of your pan. If you have extra batter (you probably will), you can make a few individual cakes in small ramekins.
9. Bake at 350 degrees (325 for a dark pan) for about 50 minutes, until the cake doesn't wobble; a tester should come out mostly clean with only a few crumbs.
10. Wait until the cake is COMPLETELY COOLED to turn it out.
11. Top with ganache (instructions below)
Ganache
1. Heat your butter, cream, and chocolate together in a small saucepan on low heat until melted and combined.
2. Pour over the top of your bundt cake.
3. Admire.
 |
| The paste: it should be liquid but still thick |
 |
| Here is the bundt pan with the paste applied. Notice how it sticks easily to the sides and how I have covered every ridge of the pan. |
 |
| Here is the melted water, cocoa, chocolate, and espresso mixture |
 |
| Add the sour cream |
 |
| Here's the creamed butter, vanilla and sugar |
 |
| Here's what it should look like after you add the eggs. Your mixture may look like it's in danger of separating; that's normal |
 |
| The finished batter |
 |
| My filled bundt pan; the batter should be about an inch from the top of the pan. |
 |
| Your cake will fall some after you take it out of the oven. Ideally it will settle to the level of the edge of the bundt pan. |
 |
| Ganache ingredients |
 |
| The finished ganache |
 |
| How cute are my mini cakes? Aren't they just perfect for Valentine's Day? |
Start buying your bundt pans people!
No comments:
Post a Comment